2023.10.17 - [리뷰] - 미지아 CleanFly 차량용 음이온 공기청정기
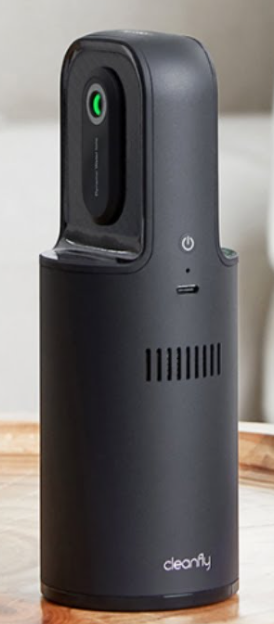
미지아 CleanFly 차량용 음이온 공기청정기
음이온 공기청정기 안전할까?공식적으로는 YES 운행중인 차량이 아이들과 함께 타는 차라 공기 질을 조금이나마 좋게하기 위해 필립스 GoPure 필터형 공기청정기와 샤오미 미지아 차량용 음이온
arranging.tistory.com
오늘은 예전에 분해 실패 했던 이 제품
cleanfly 의 분해 방법을 알게 되어서 공유 드립니다.

그동안 윙~ 하는 소리가 시끄럽게 나서
팬쪽에 윤활유를 뿌리고 싶은데
방법을 몰라서 답답했습니다.

이 제품은 바닥면에 나사(배터리 고정)와
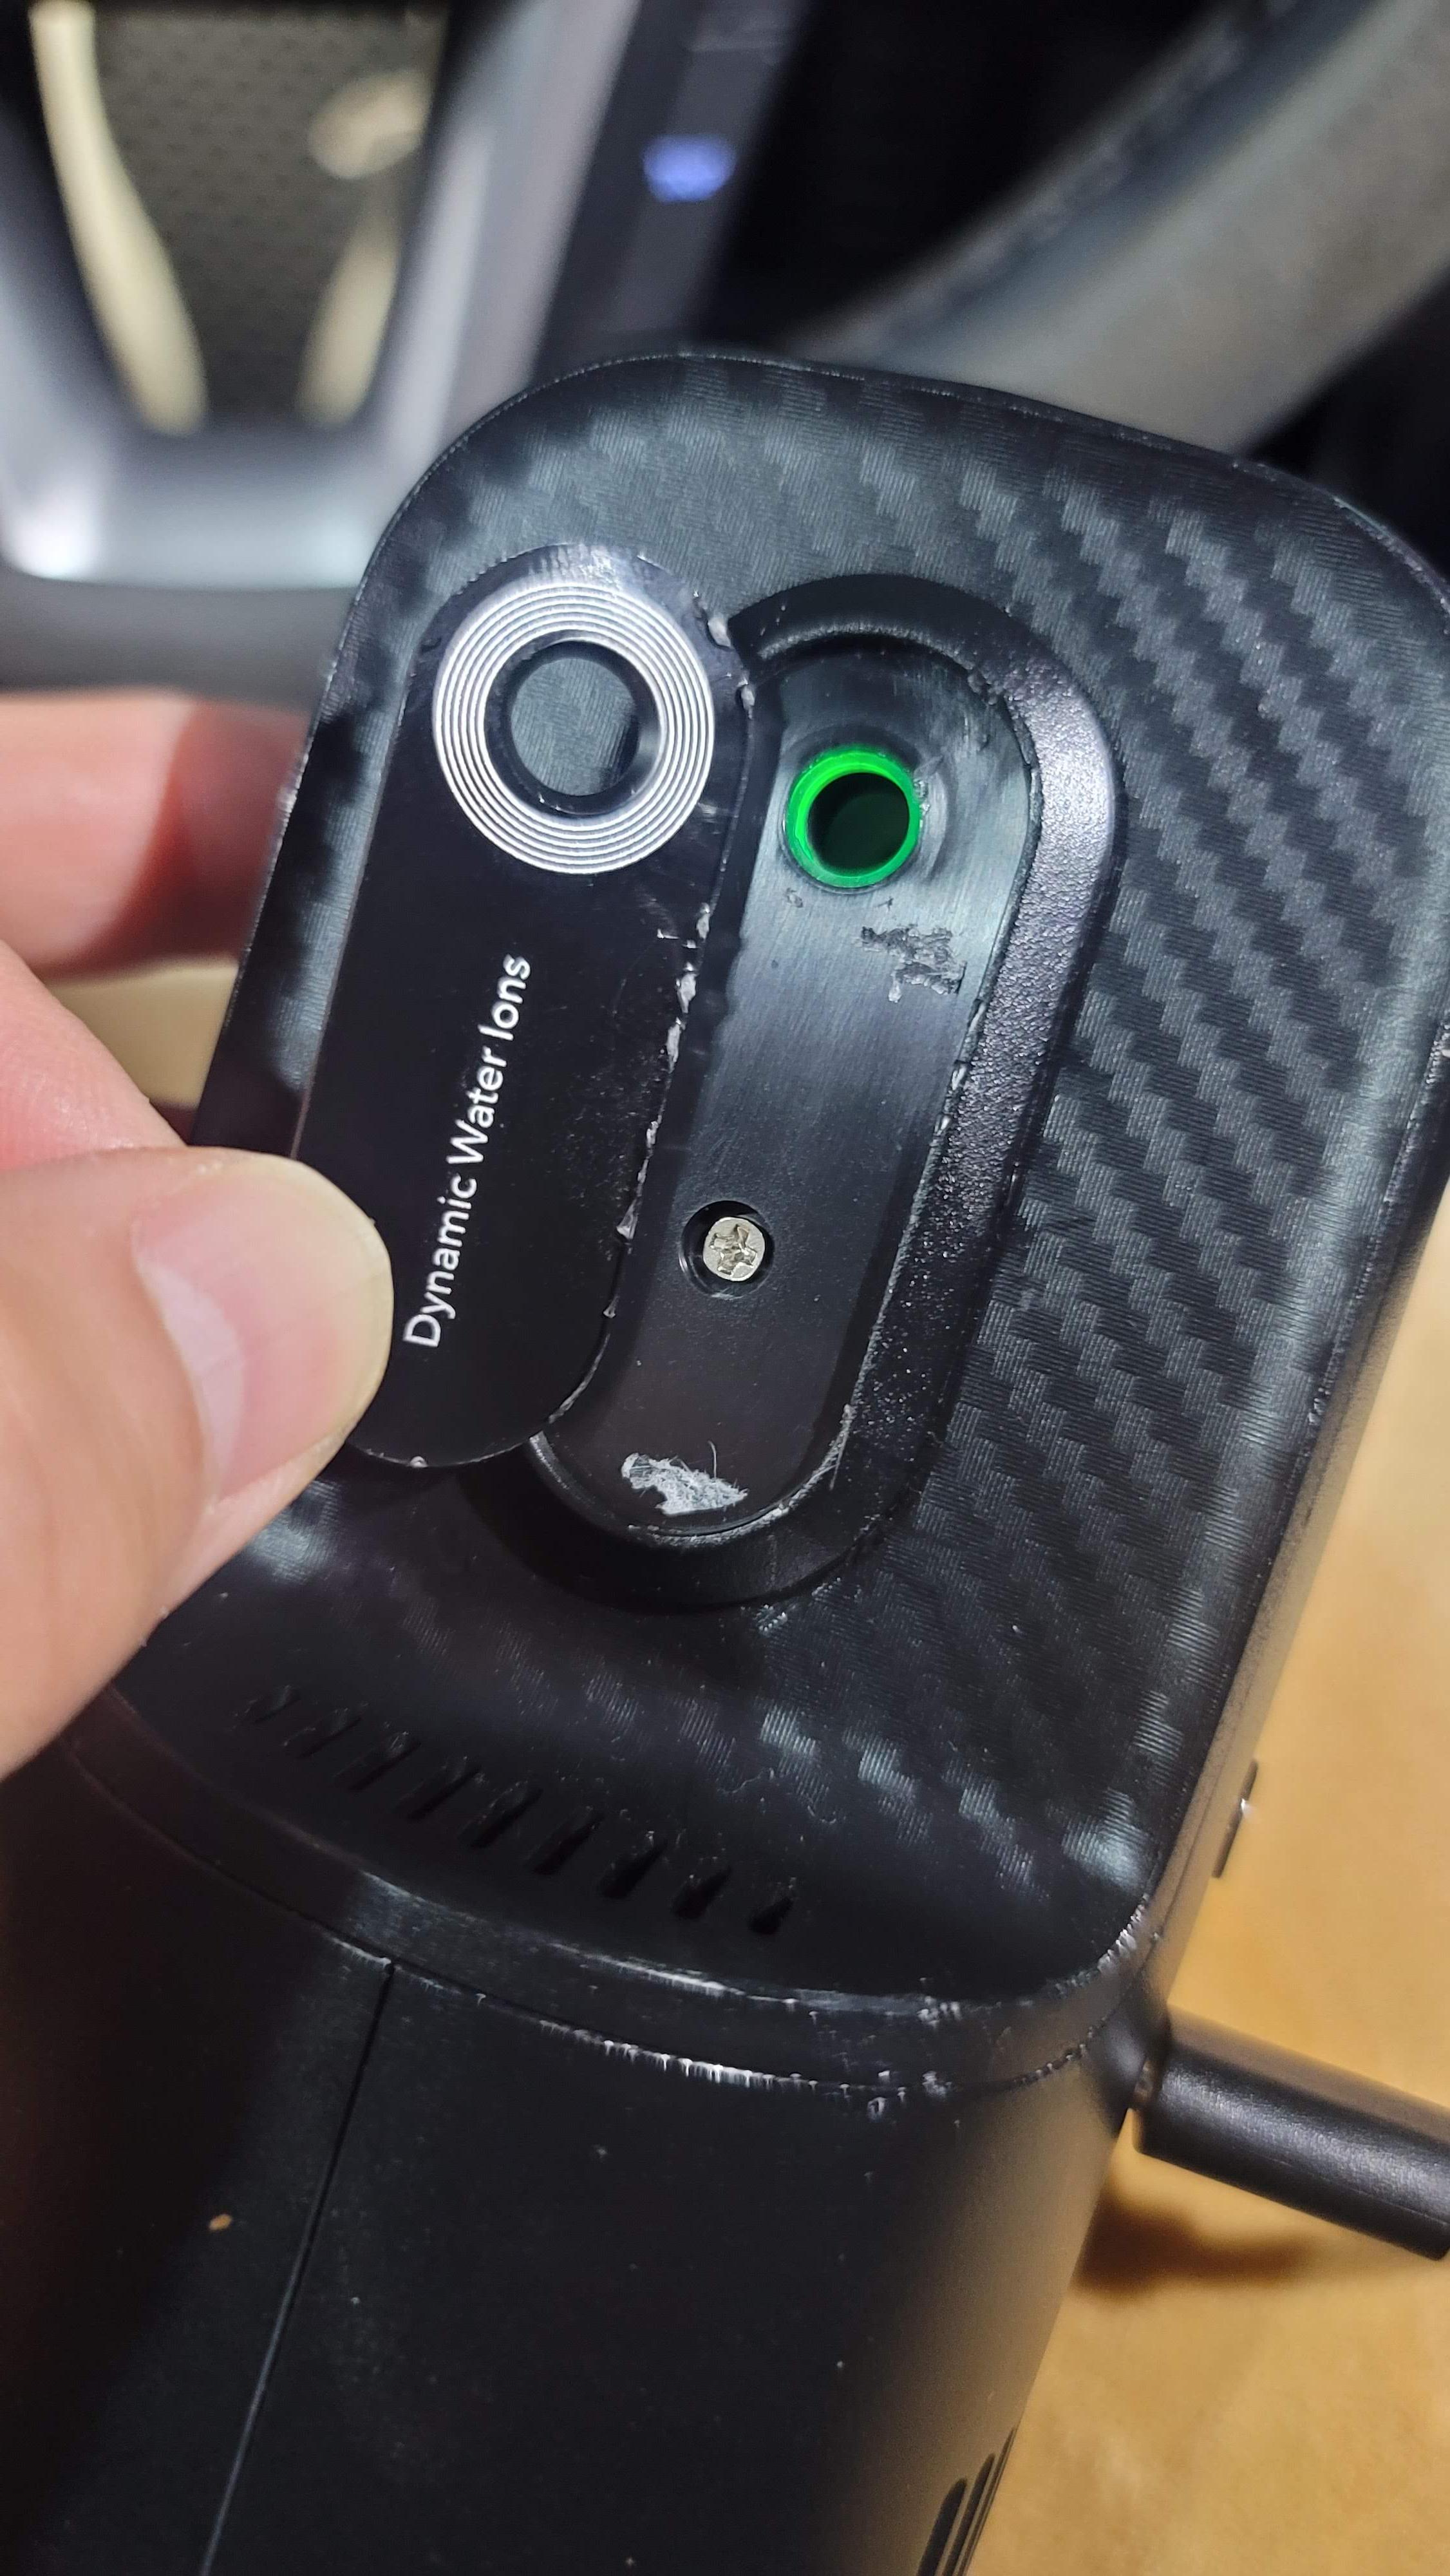
상단 중간에 있는 공기 배출구쪽에 나사(본체 앞뒤 고정)가 있습니다.
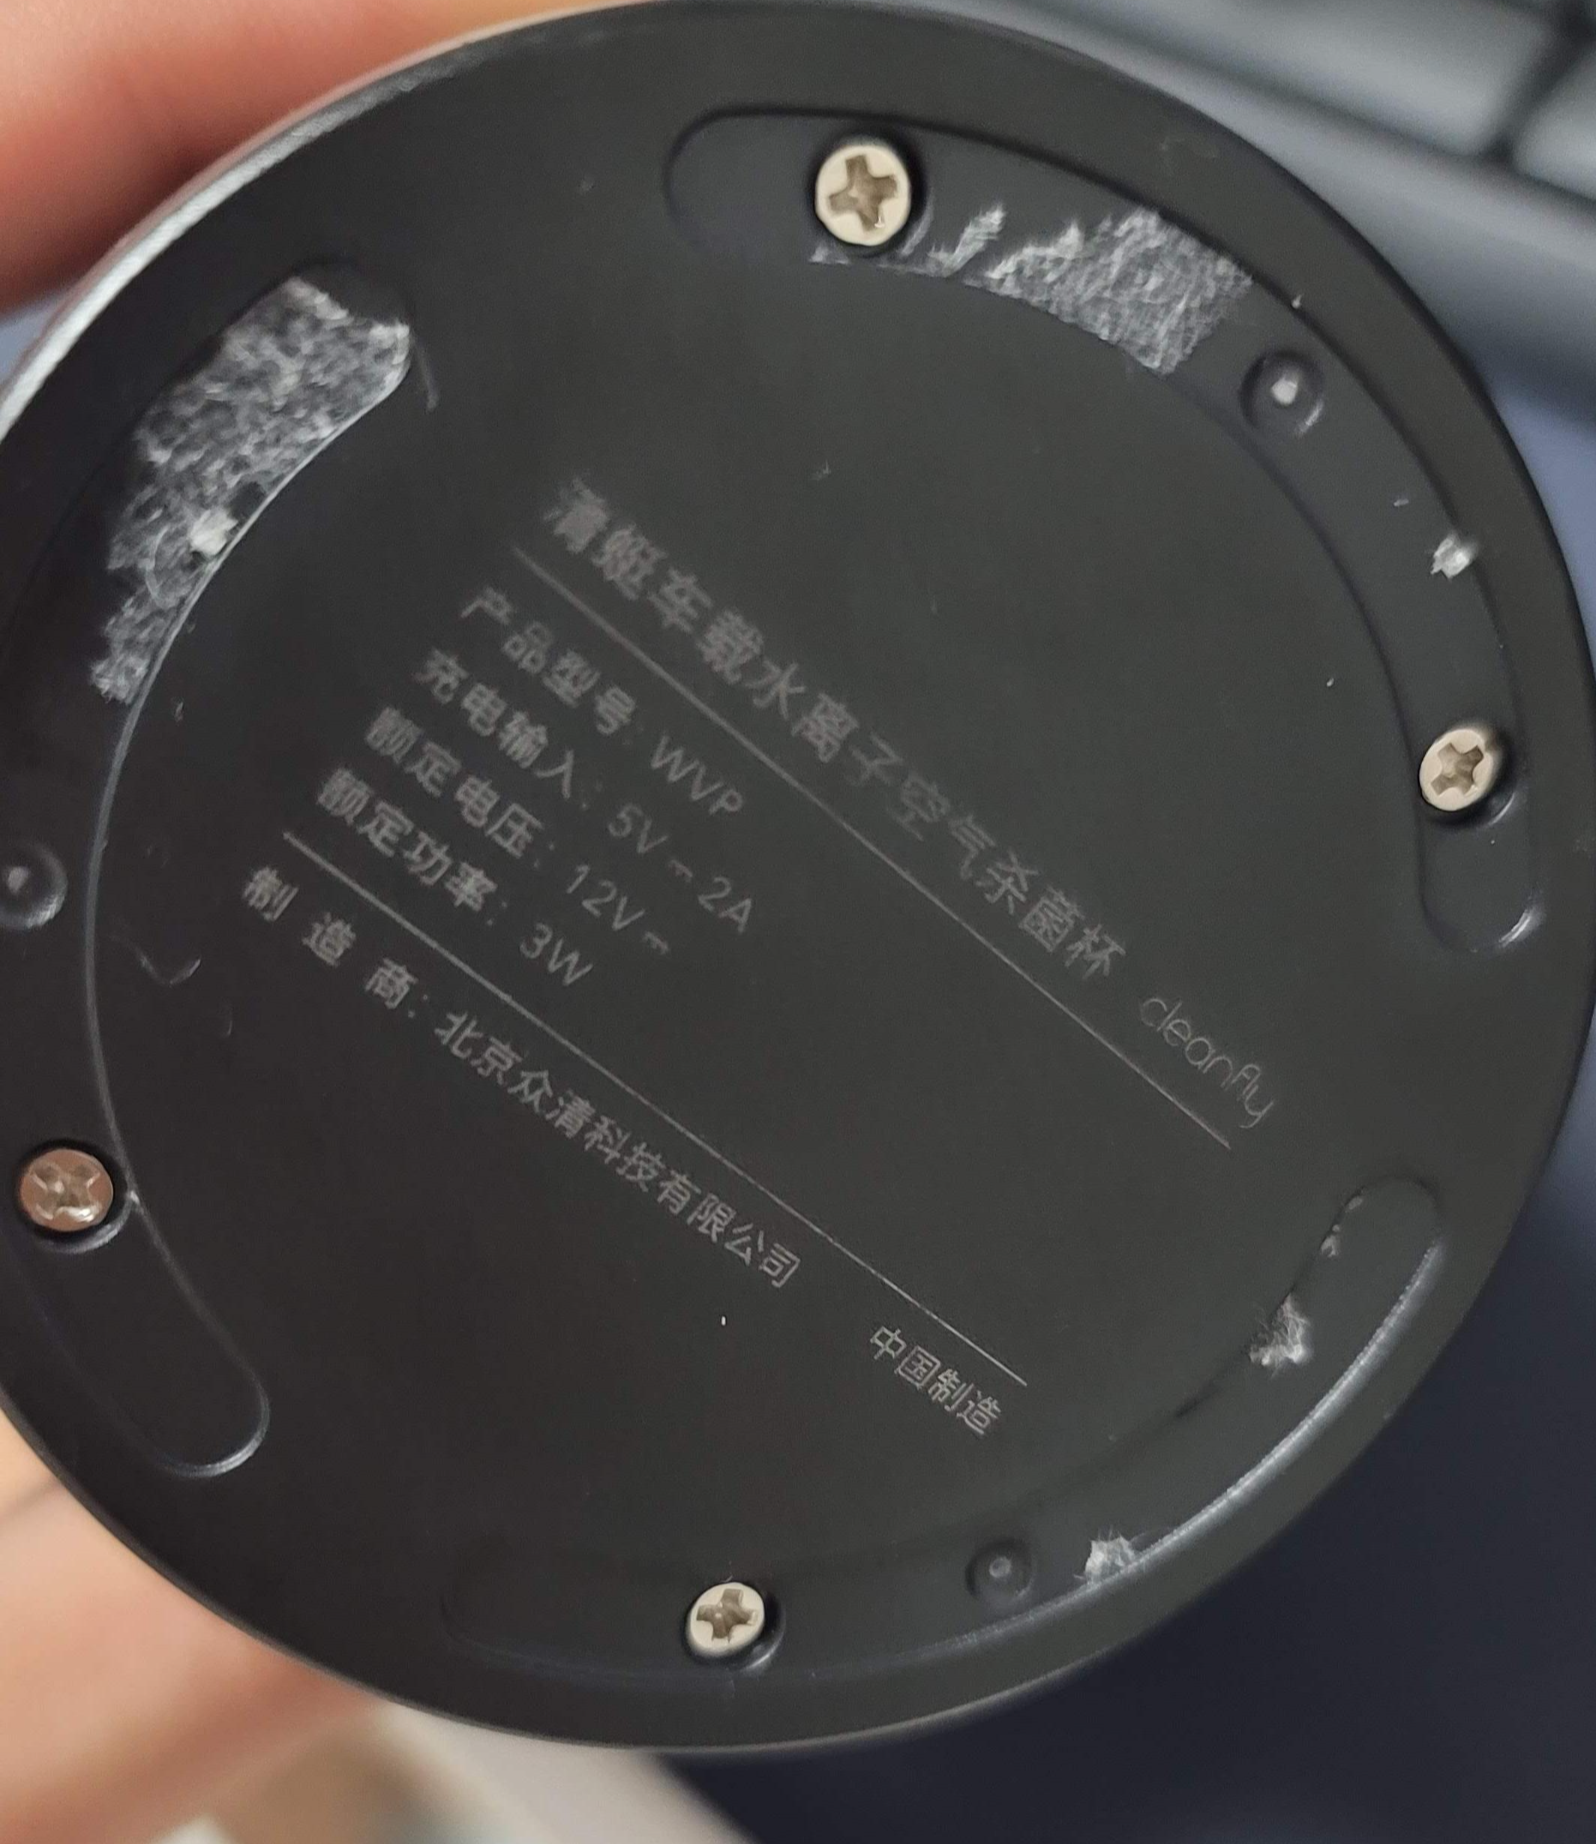
배터리를 고정하는 부분의 나사는 제거해줄 필요가 없습니다.
상단 배출구쪽 나사 하나만 제거하면 분해가 됩니다.

먼저 팬쪽에 윤활 처리를 하기 위해서는
공기 배출구쪽 플라스틱 접착부를 떼주어야 합니다.
이 부분을 몰라서 이리 저리 해보다가 실패했었는데
어느날 혹시 여긴가? 하는 마음에 떼봤더니 나사가 있었습니다.
^^
여기에 나사를 제거 하고
상단 부에 플라스틱 고정 부를
헤라를 이용하여 하나씩 떼내어 주면
이렇게
팬과 그아래 배터리를 볼 수 있습니다.
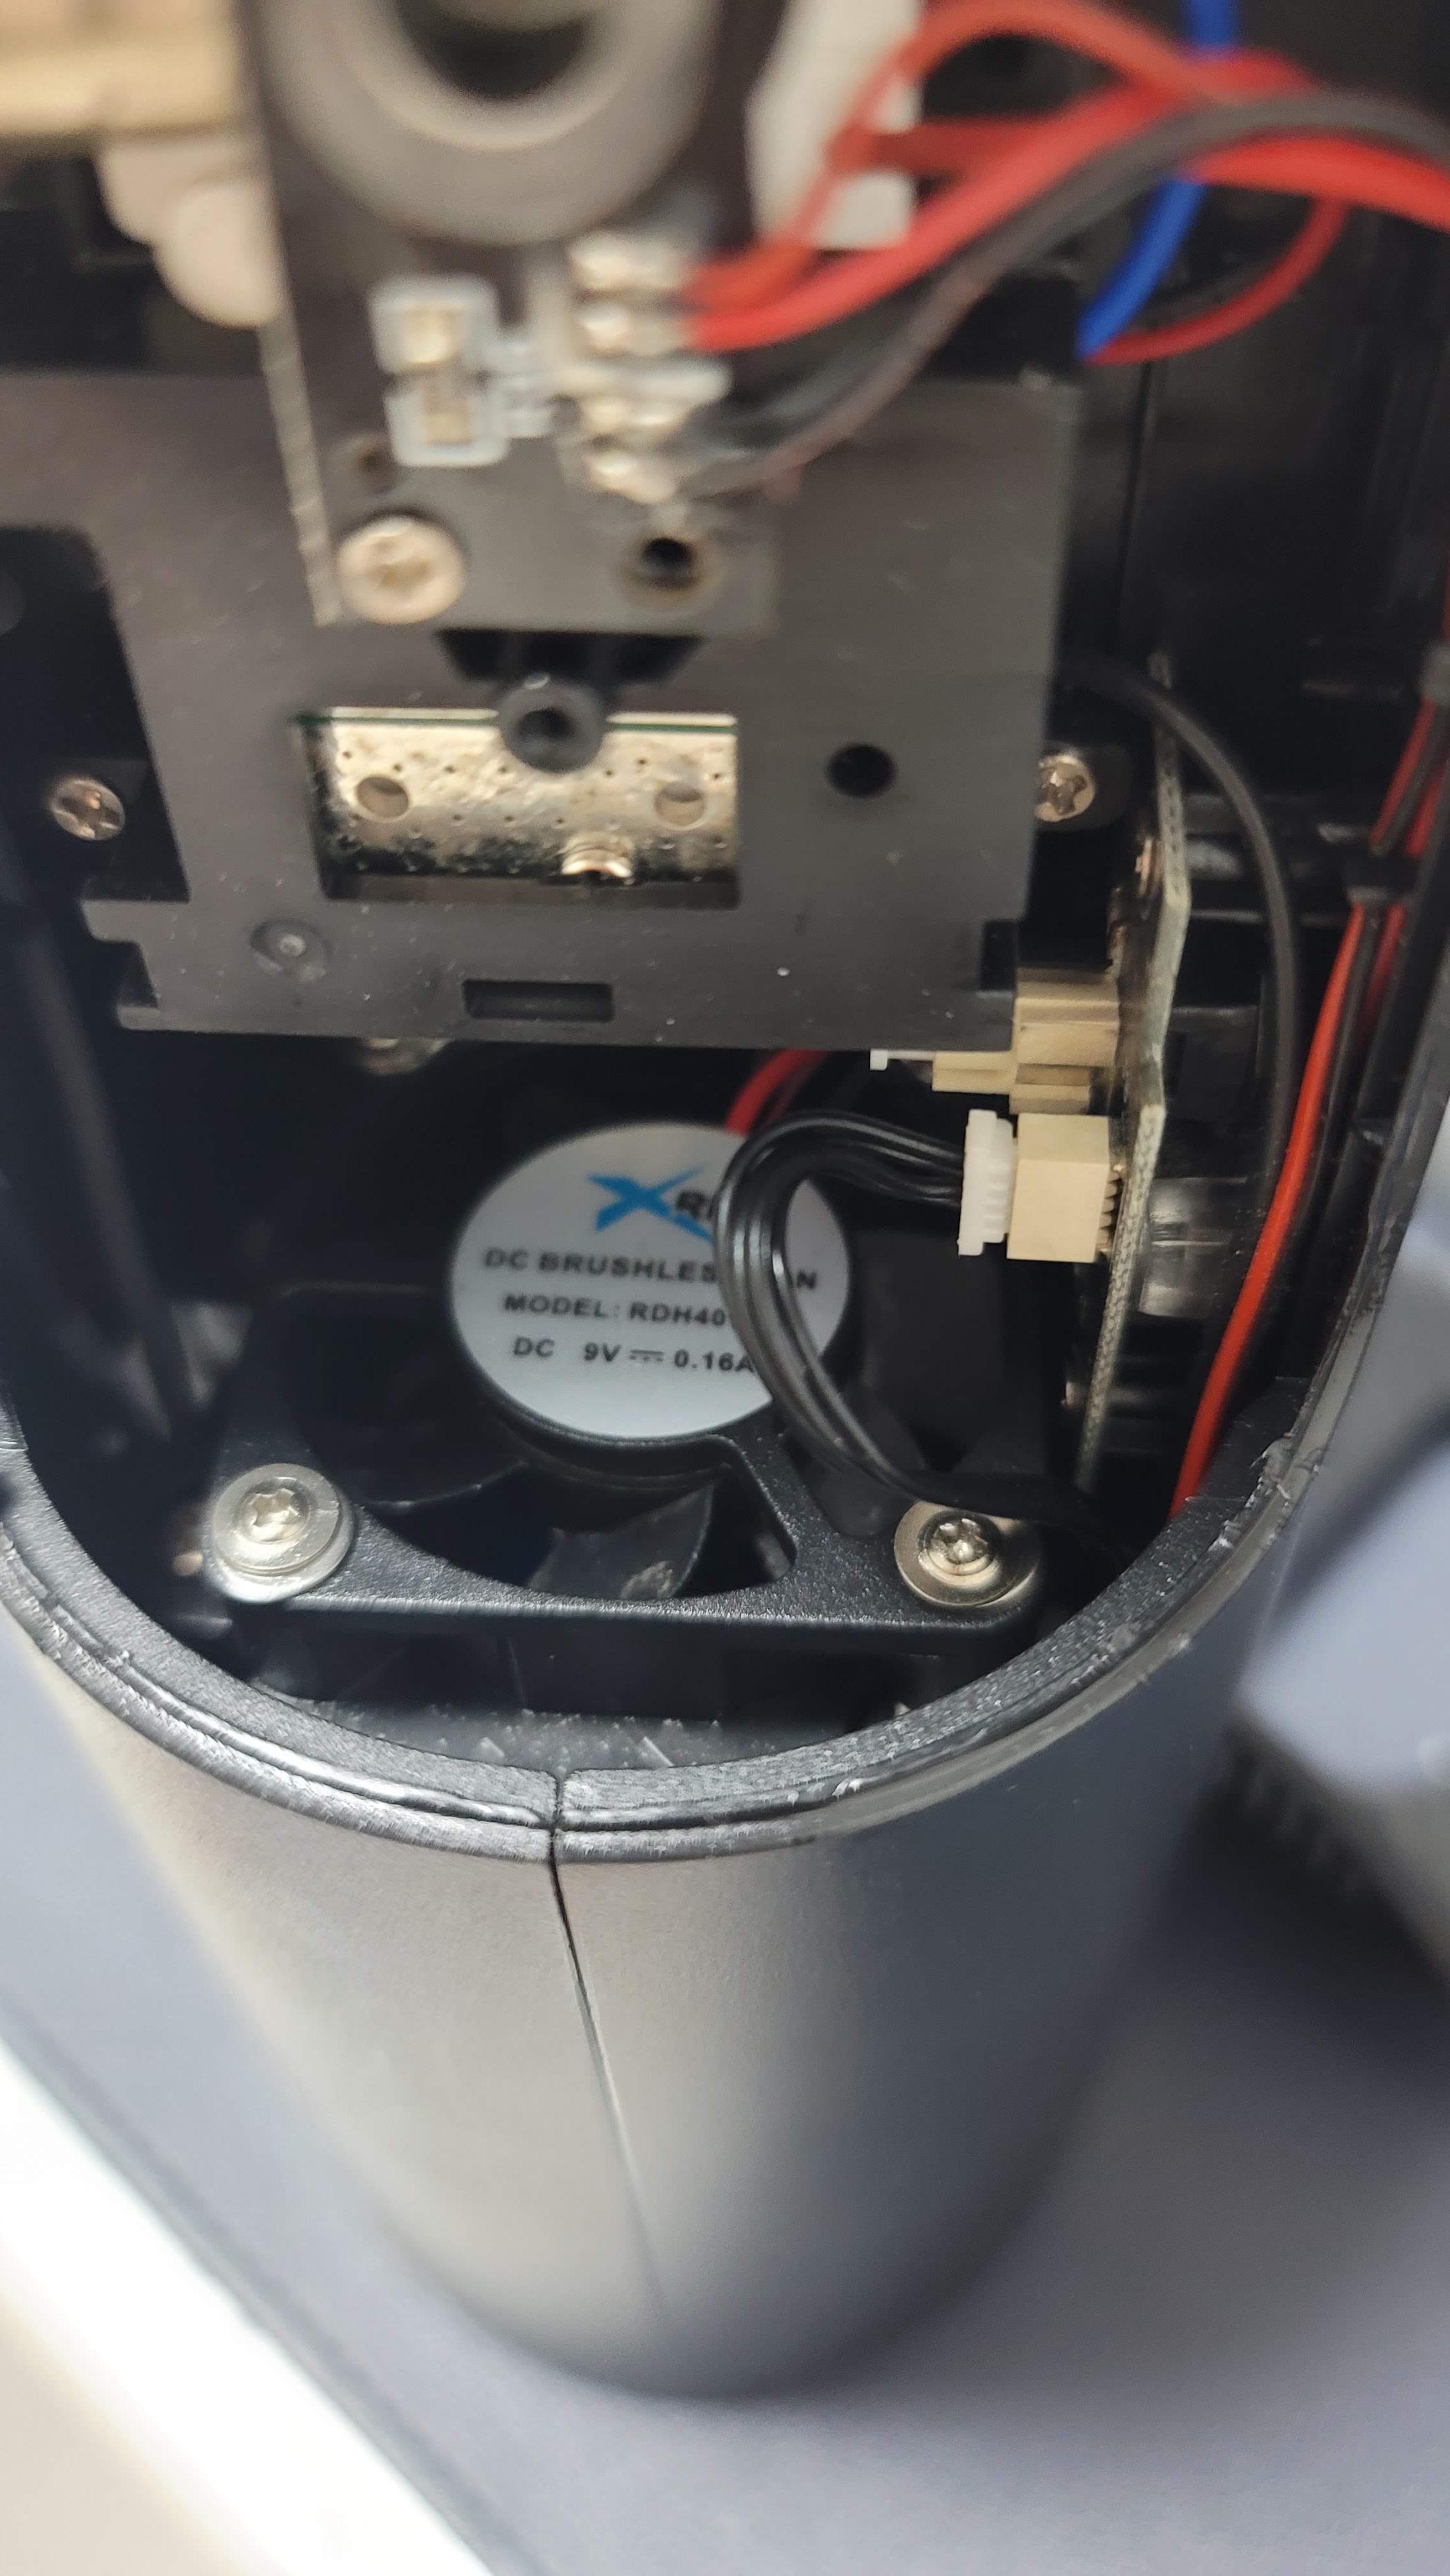
오늘의 목표는 이 팬 부분에 윤활유(WD40)을 뿌려주는 것!
목표 달성 하고 편한 잠을 청해봅니다

-----------------------------------------------------------------------------------------------------------------------------------------------------------------
Today I am talking about this product that I previously failed to dismantle.
I learned how to disassemble cleanfly and am sharing it with you.
Meanwhile, there was a loud buzzing sound.
So i want to spray some lubricant on the fan side.
I was frustrated because I didn't know how to remove the cover.
This product has screws (to secure the battery) on the bottom and
There is a screw (fixed to the front and back of the main body) on the air outlet side in the middle of the top.
First, in order to lubricate the fan side,
You must remove the plastic adhesive on the air outlet side.
Remove the screw here
Plastic fixing part at the top
If you use Hera to remove them one by one,
like this
You can see the fan and the battery underneath it.
Today's goal is to spray lubricant (WD40) on this fan part!
Achieve your goal and get a good night's sleep
'Diy' 카테고리의 다른 글
| 삼성건조기 배수펌프 자가 수리(쉬움)-물방울표시 (1) | 2024.04.05 |
|---|---|
| [DIY]온풍기 회전기능 수리 (0) | 2024.01.16 |
| 말랑쁘니 고리달기 및 비밀 코드 (1) | 2023.12.23 |
| [DIY]스마트키 인식불량 자가수리 (0) | 2023.09.20 |
| 미니 선풍기 솔러스에어 분해 2탄 (0) | 2023.08.10 |


댓글