🔥 토요토미 기어미션 난로 심지 교체 DIY: 화력 저하와 편불꽃 완벽 해결!

장박 4주차, 영하 20도의
한파를 겪으며 난로의 중요성을
뼈저리게 느꼈습니다.
최근 심지 높이를 3단(최대)으로 조절해도
불꽃이 낮고 열량이 예전만 못하다는
느낌을 받았어요.

특히 경사진 곳에서 사용하며
발생한 편불꽃 때문에 그을음도 걱정되어,
이번 기회에 기어미션 심지 교체 및 대청소를 진행했습니다.
🛠️ 준비 단계: 사전 공부와 연료 제거
심지 교체 전, 옴니 난로 분해 영상을 보며
공부했는데 기어미션 모델은
고급 라인이라 별도의 드라이버 없이
손으로도 충분히 분해가 가능해서 훨씬 수월했습니다.
* 소요 시간: 숙달되면 10분 컷!
저는 청소와 사진 촬영, 재조립 과정을
포함해 약 30분 정도 걸렸습니다.
* 연료 제거: 화력 조절 다이얼을
왼쪽으로 끝까지 돌려 불을 끄고,
터틀팬을 올려 열기를 완전히 식혔습니다.
그 후 자바라를 이용해 남은
기름을 한 방울도 남김없이 빼주었습니다.

🧤 교체 과정: 생각보다 간단한 단계별 가이드
기름 냄새가 오래 남을 수 있으니
동봉된 고무장갑을 꼭 착용하세요!
✅ 분해 순서:
* 볼트 풀기 → 2. 상부판 제거 → 3. 안전망 빼기 → 4. 연소통 및 몸통 제거 → 5. 나비 볼트 풀기 → 6. 심지 뭉치 조심히 들기 (기름이 떨어질 수 있으니 주의!)
✅ 심지 교체:
기존 심지를 뒤집어 표시된
위치의 고정 고리(총 3군데)를
위아래로 살짝 움직여 뺍니다.
한쪽만 잘 빠지면 나머지는 쑥 빠져요.
새 심지에는 화살표로
위아래 표시가 잘 되어 있어
헷갈릴 염려가 없습니다.
얇은 철판에 고정 걸이를
잘 끼워 결합해줍니다.
그동안 편불꽃 때문에 쌓였던
그을음과 타르를 구석구석 닦아냈습니다.
깨끗해진 난로 내부를 보니 제 마음까지 개운해지더군요!
결합할 때는 심지를 살짝 돌려가며
넣으면 부드럽게 들어갑니다.


✨ 결과: 100% 만족스러운 화력 복구
재조립 후 가장 중요한 것은 **'기다림'**입니다.
새 심지가 기름을 충분히
머금어야 수명이 오래가기 때문에,
기름을 채우고 정확히 1시간을 기다렸습니다.
* 설정: 겨울철 화력을 고려해
심지 높이는 2단으로 시작했습니다.
* 점화: 수평계로 수평을 완벽히 맞춘 후 재점화!
불꽃 높이도 정상으로 돌아왔고, 열량도 확실히 좋아졌습니다. 남은 폐심지는 불멍 시 재활용하며 알뜰하게 마무리했네요. 난로 컨디션이 고민이라면 주저 말고 도전해보세요!
🔥 Toyotomi Gear Mission Wick Replacement DIY: Fixing Low Heat and Uneven Flames!
During Week 4 of our long-term camping, facing -20°C temperatures, I realized how vital a well-functioning heater is. Recently, even at stage 3 (maximum height), the flame remained low and the heat output felt weak. After experiencing uneven flames due to tilted ground, I decided it was time for a full cleaning and wick replacement of my Gear Mission heater.
🛠️ Preparation: Study and Fuel Removal
I studied disassembly videos for the Omni model beforehand, but since the Gear Mission is a premium line, no screwdriver was needed—everything could be disassembled by hand, making it much easier.
* Time Taken: If you’re experienced, it takes less than 10 minutes! Including cleaning, taking photos, and double-checking assembly, it took me about 30 minutes.
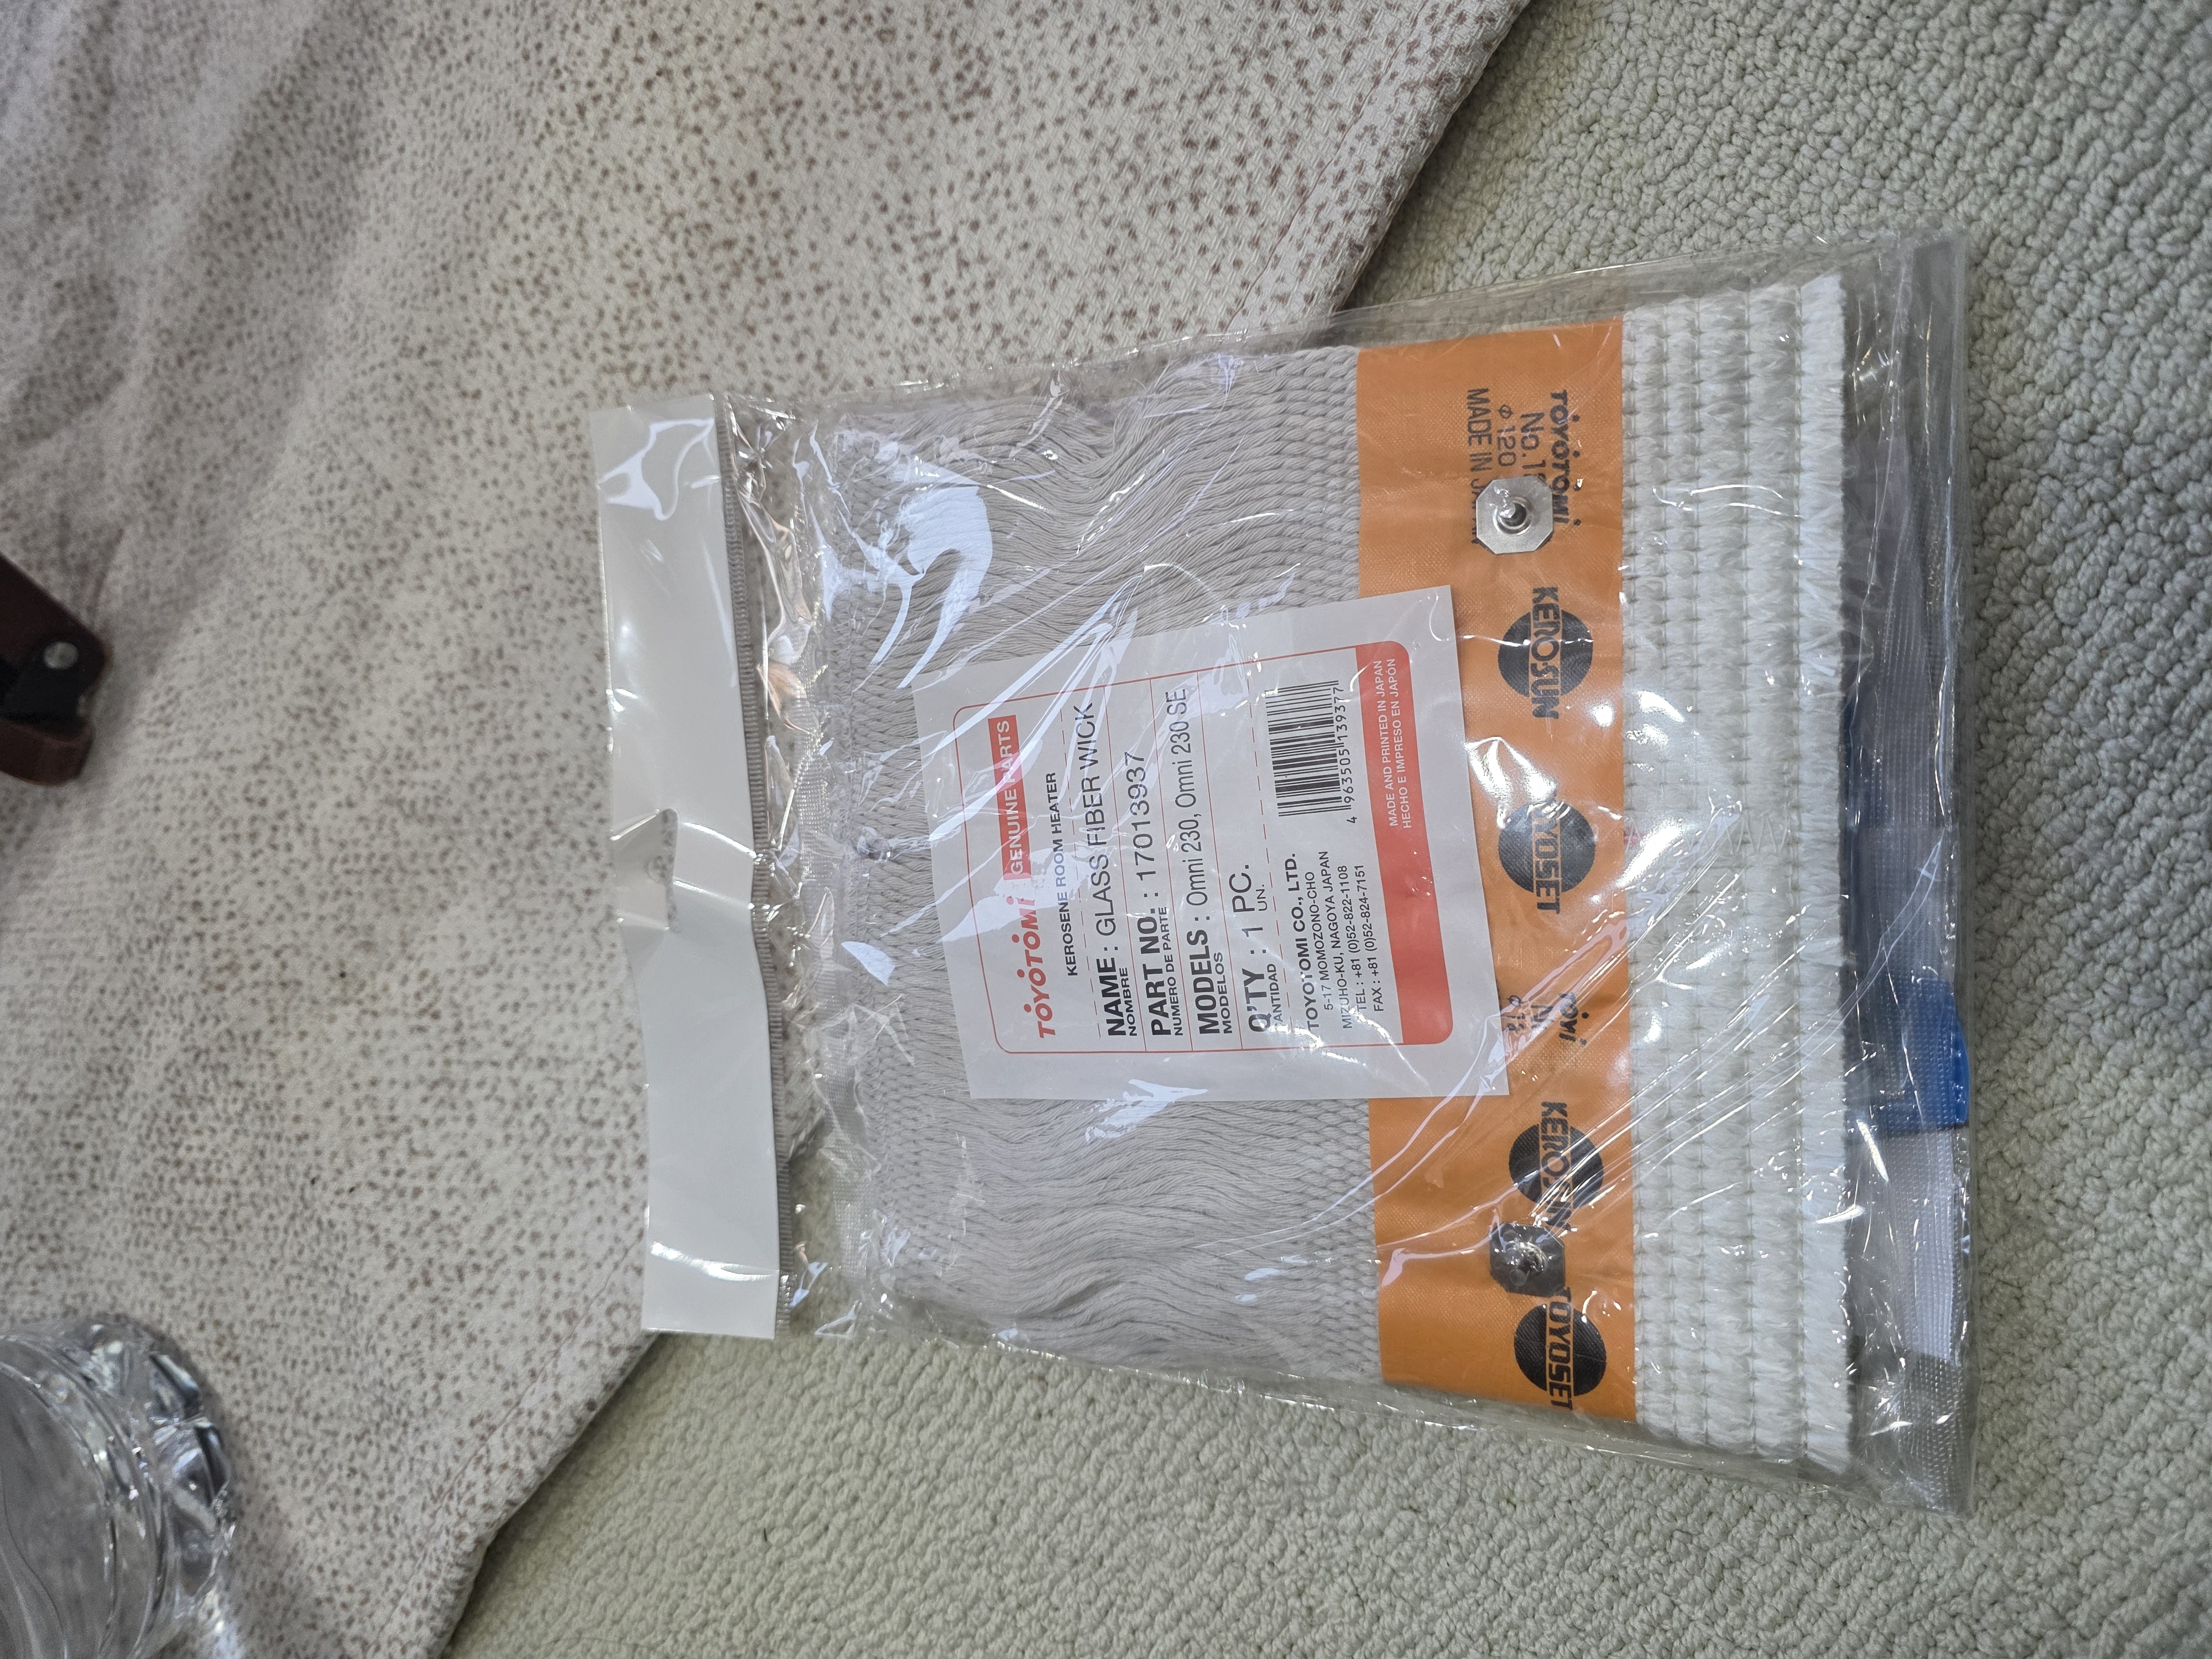
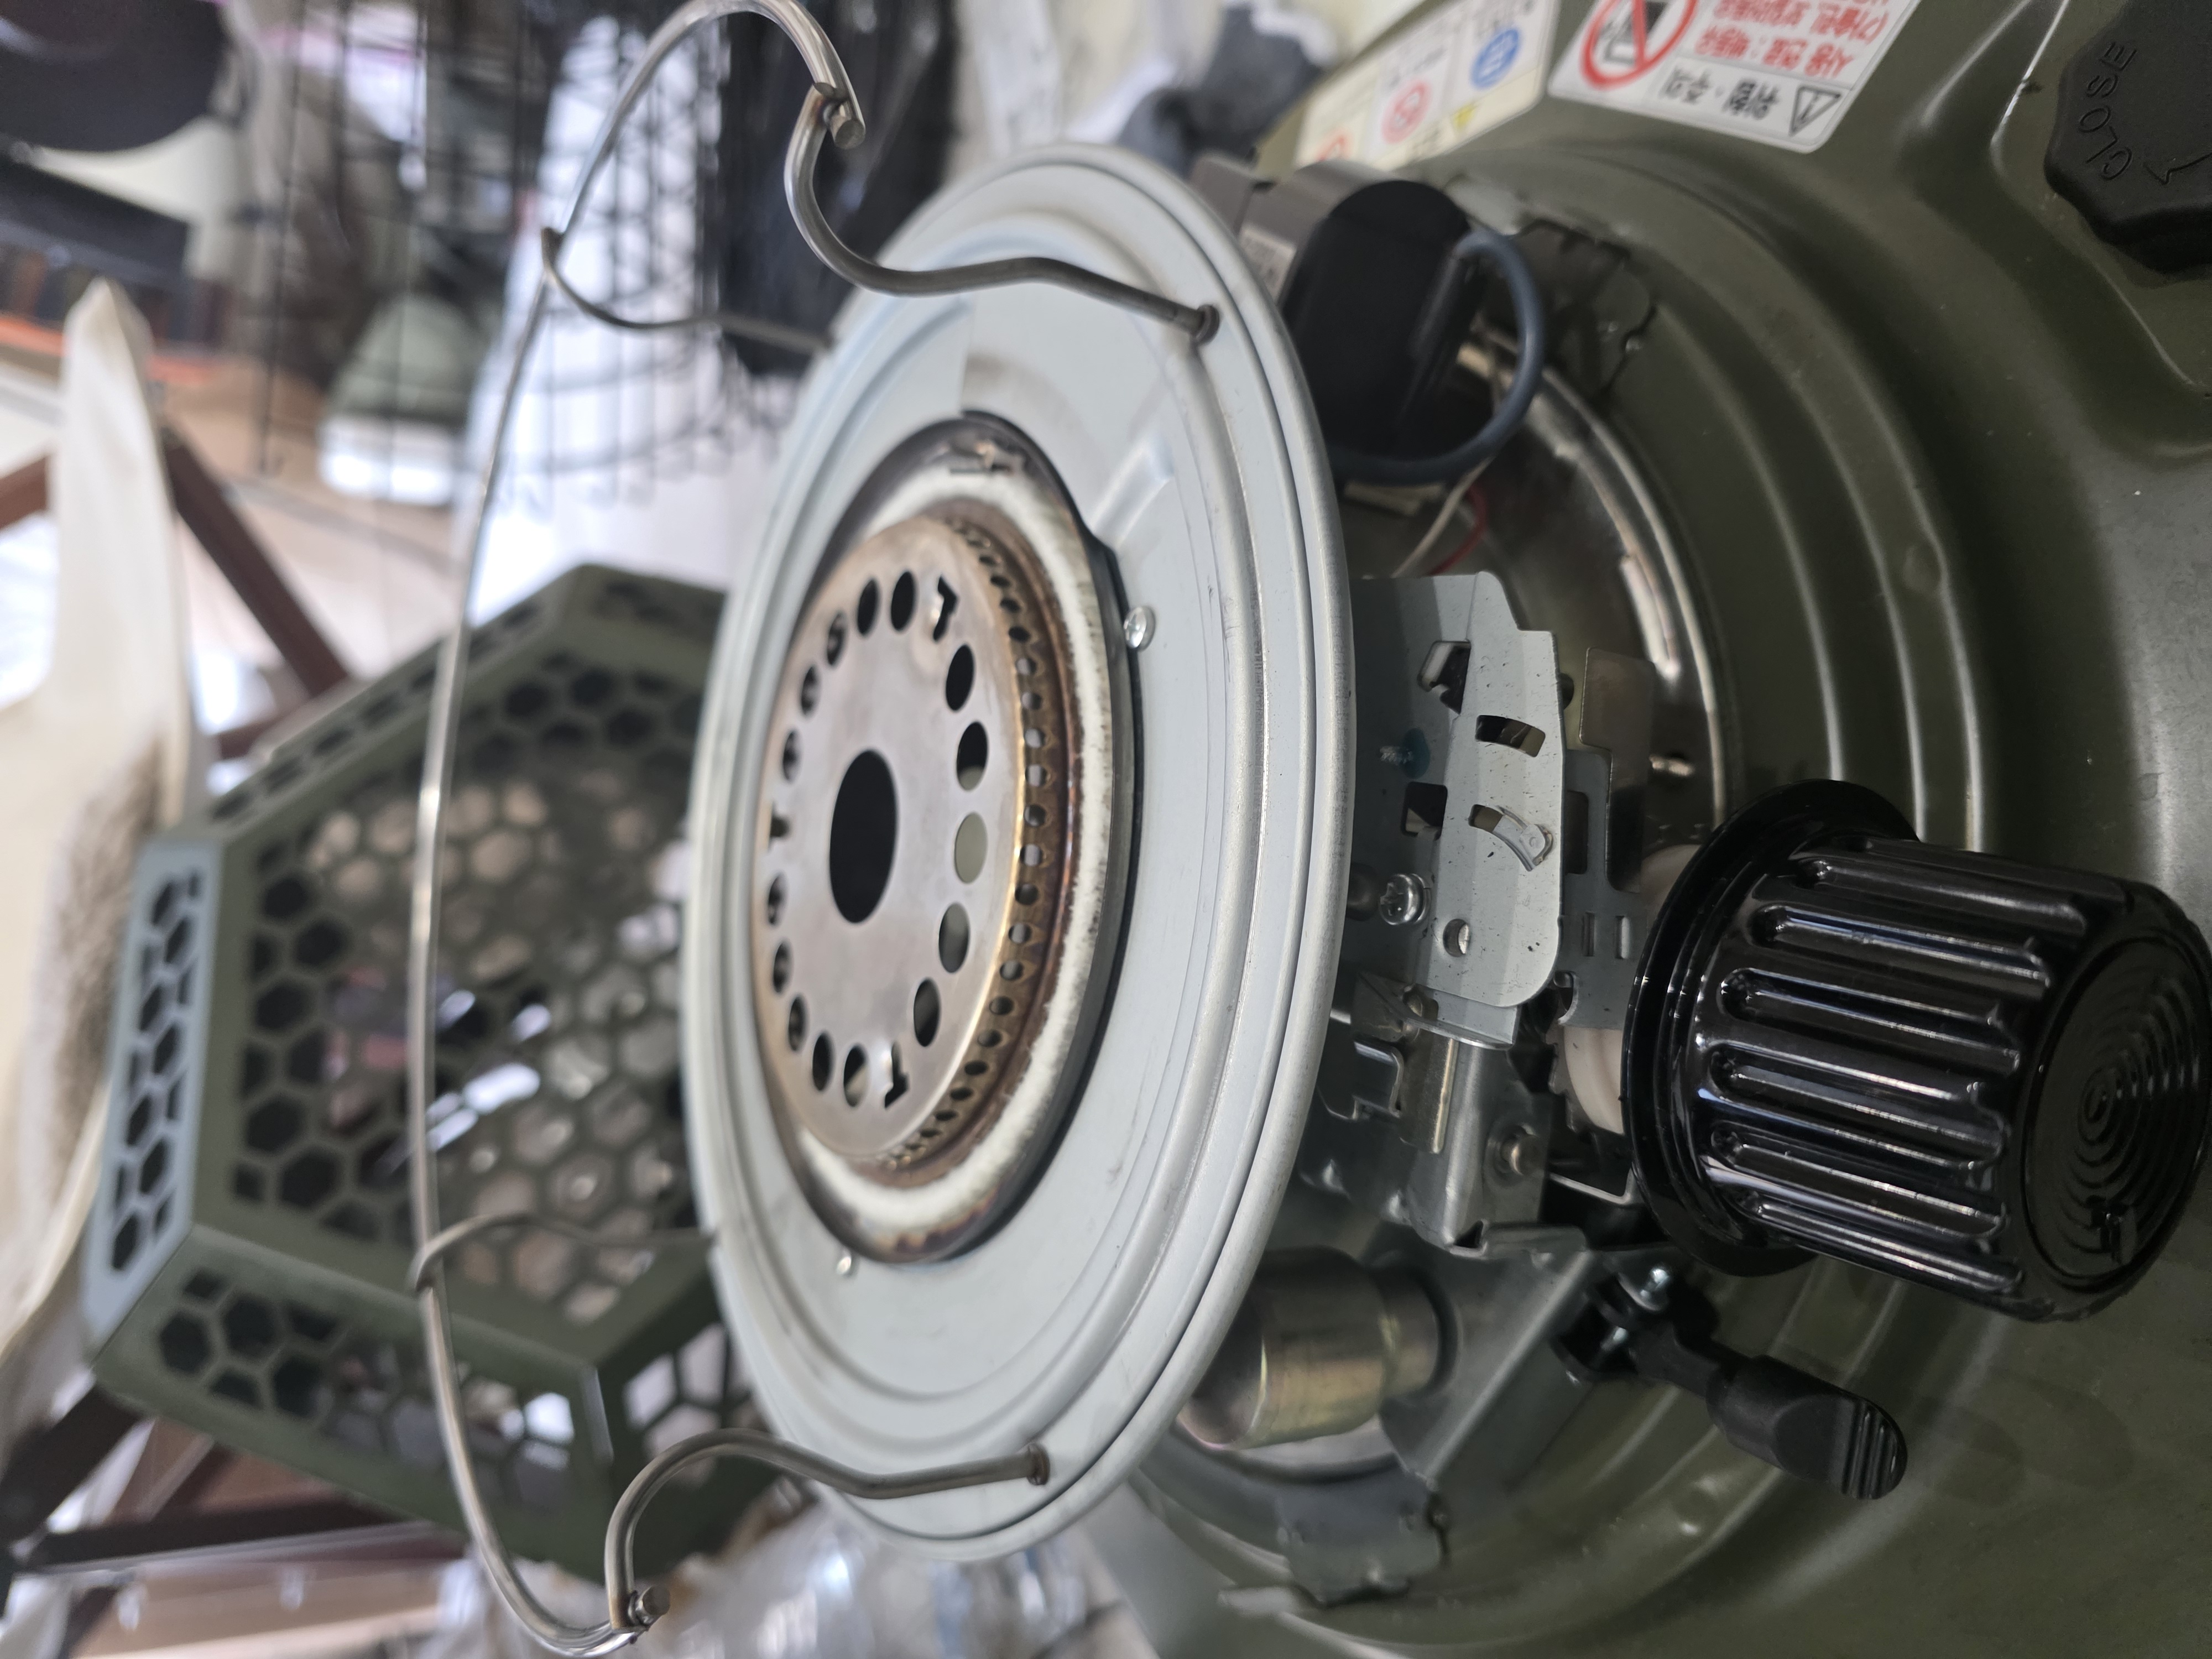
* Fuel Removal: Turn the dial all the way to the left to extinguish the flame. I used a fan to cool it down quickly. Then, I used a siphon pump to drain every last drop of kerosene.
> [Photo of the drained heater and the genuine Toyotomi replacement wick set]
>
🧤 The Process: A Step-by-Step Guide
The kerosene smell can linger, so make sure to wear the rubber gloves included in the kit!
✅ Disassembly Sequence:
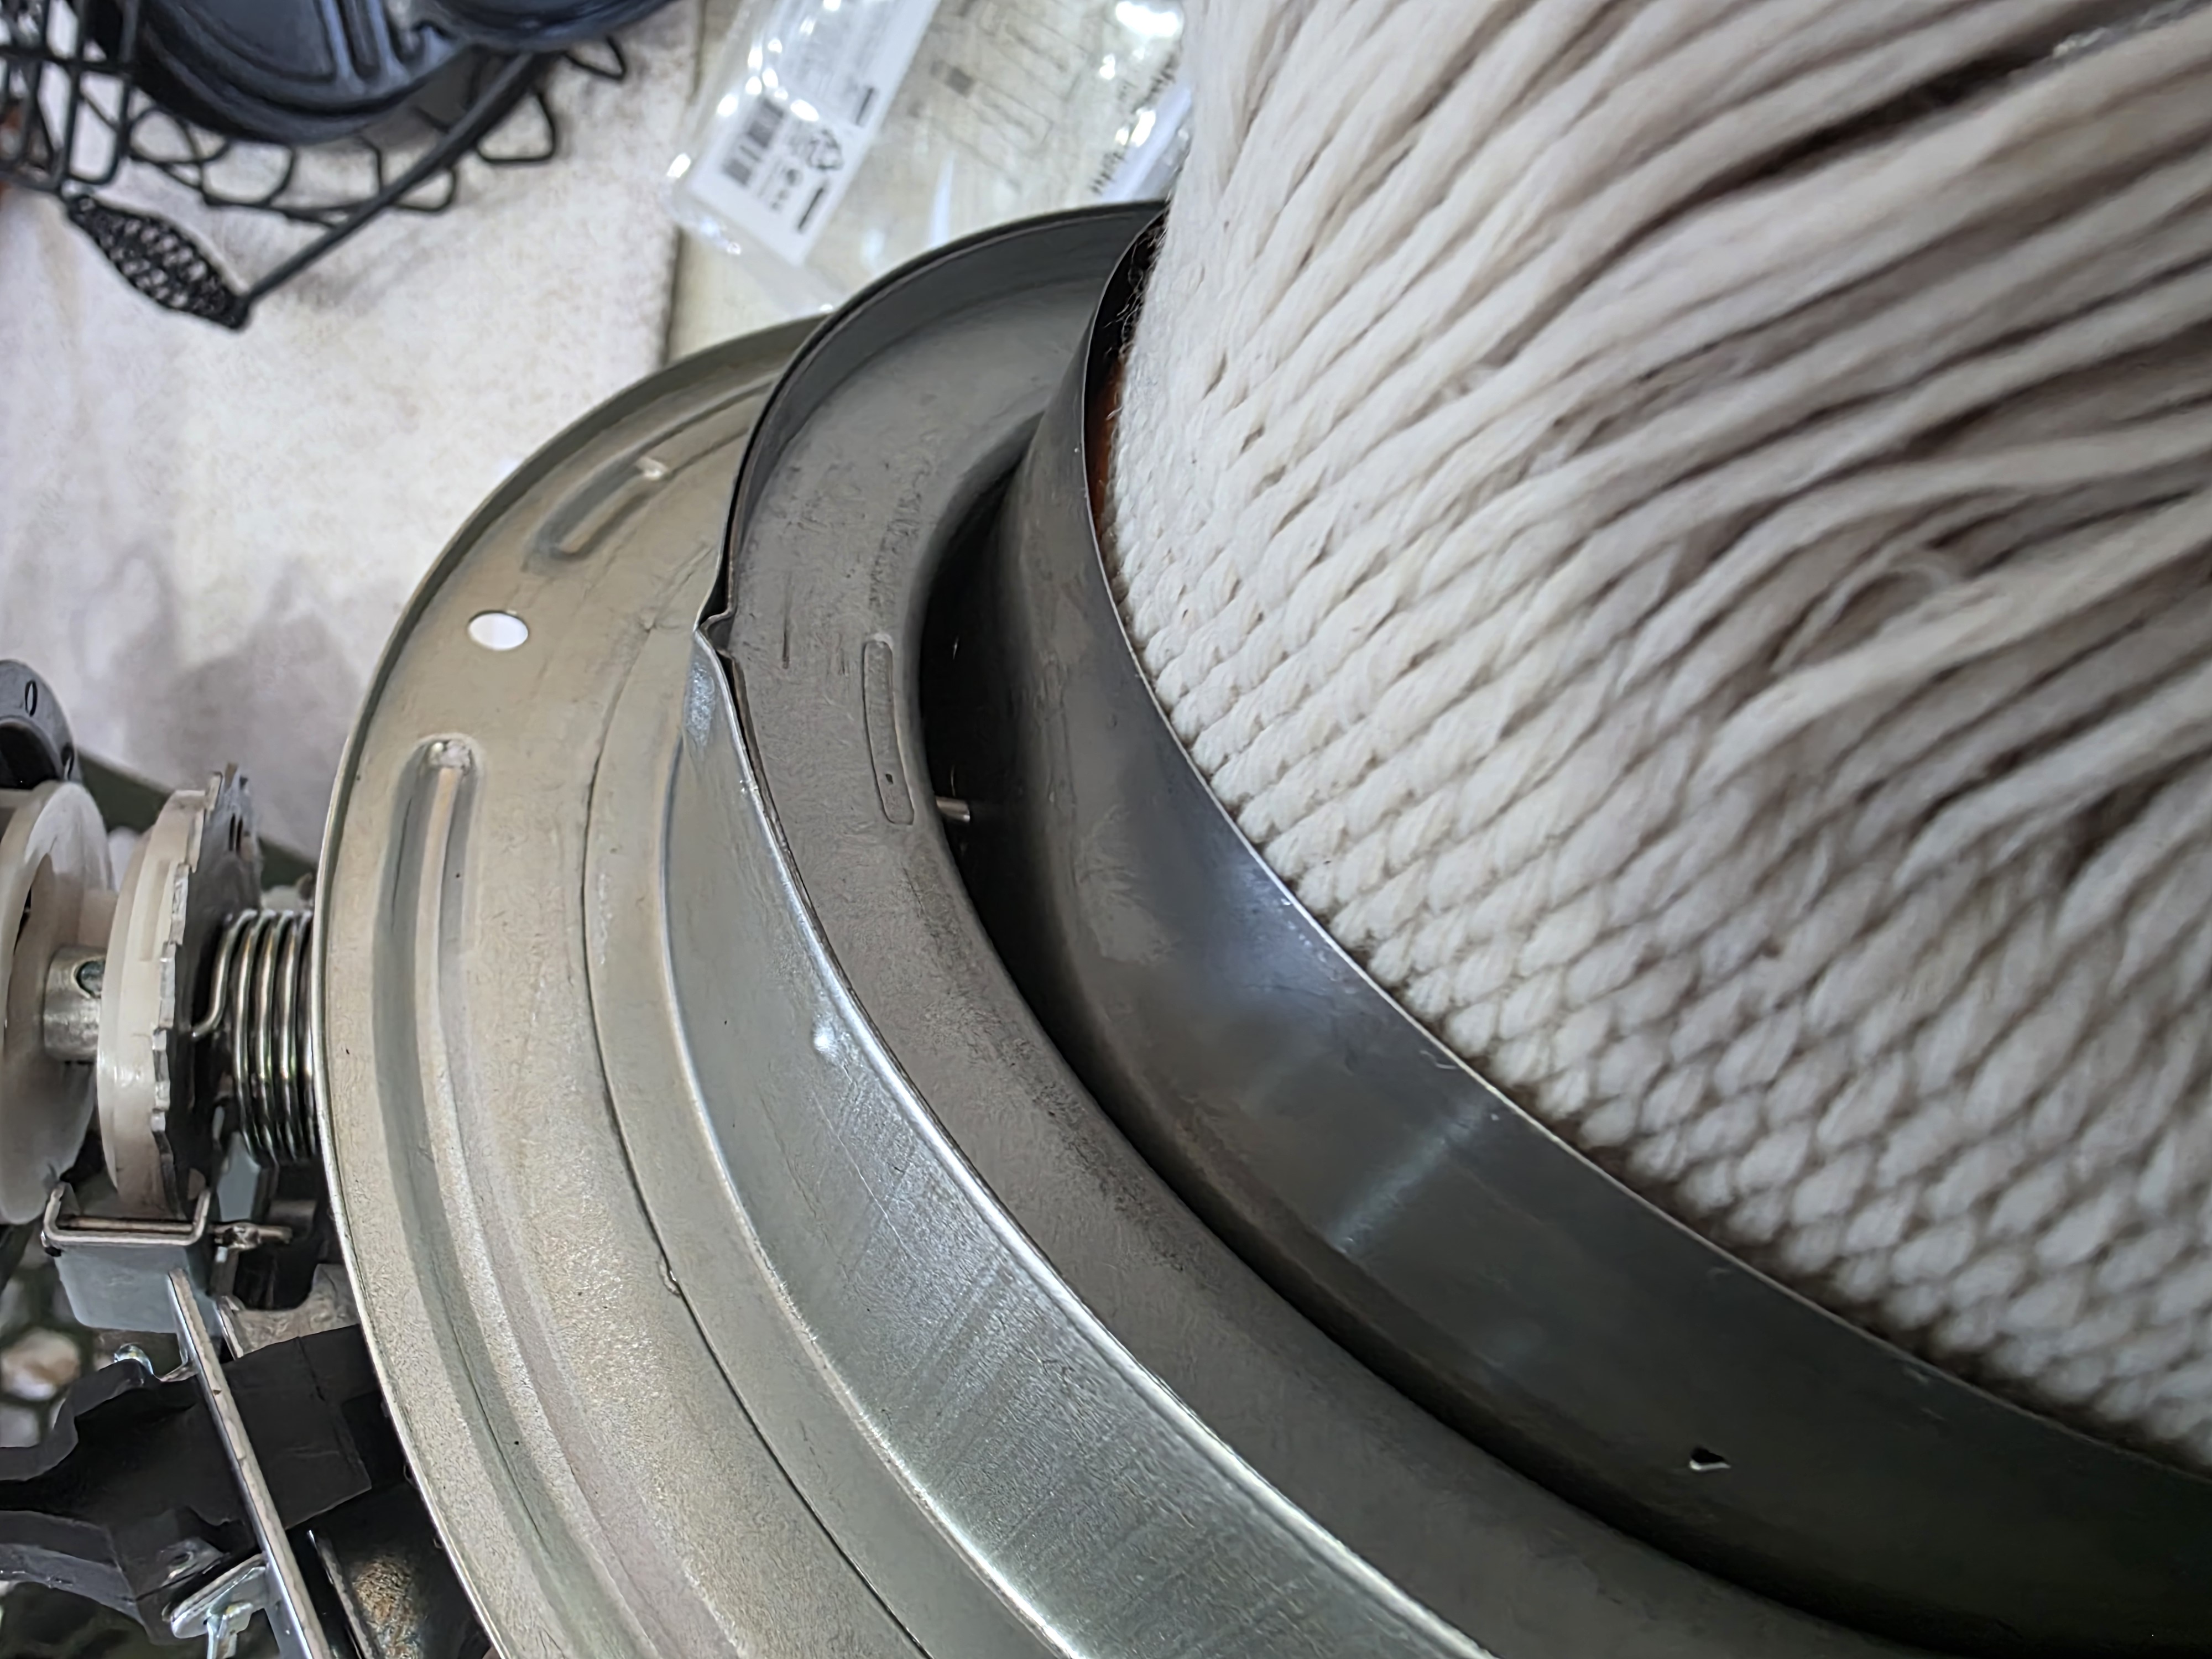
* Loosen bolts → 2. Remove top plate → 3. Remove safety guard → 4. Take out the combustion chamber and body → 5. Loosen wing bolts → 6. Carefully lift the wick unit (watch out for dripping oil!).
✅ Replacing the Wick:
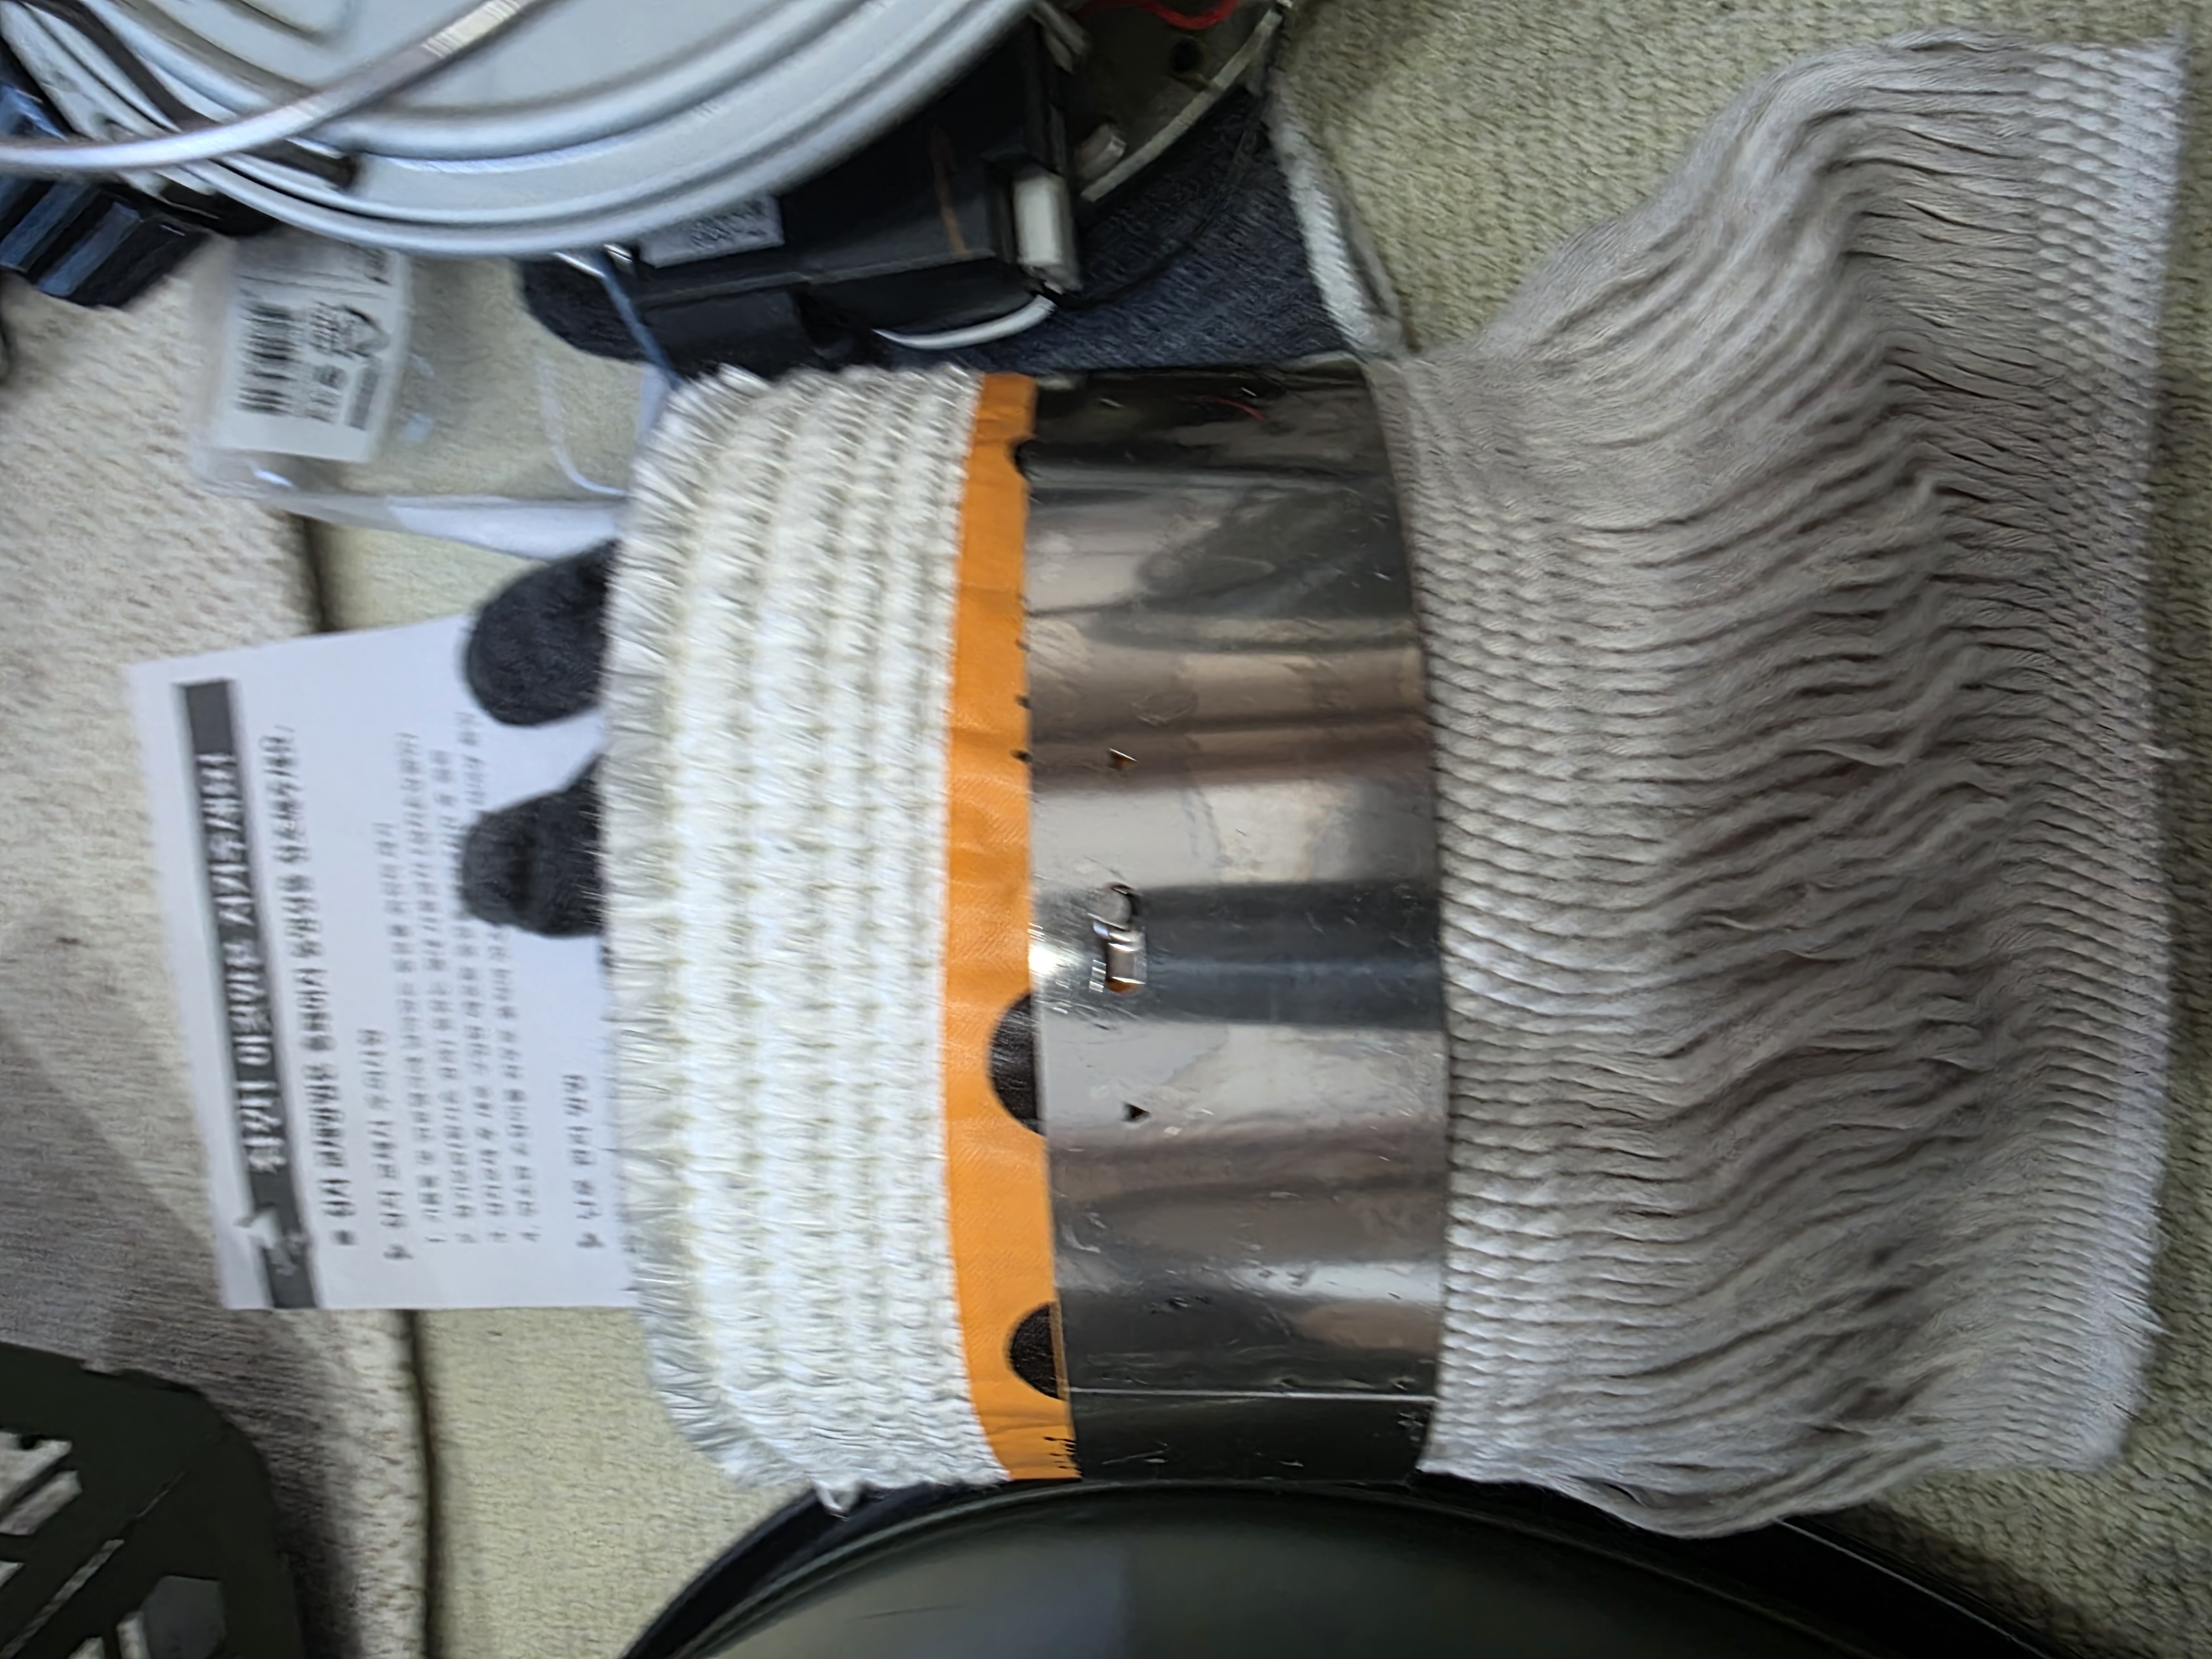
Flip the unit over and unhook the three pins. Once one side is loose, the rest comes out easily. The new wick has arrows indicating up and down, so you won't get confused. Secure the pins back onto the thin metal plate.
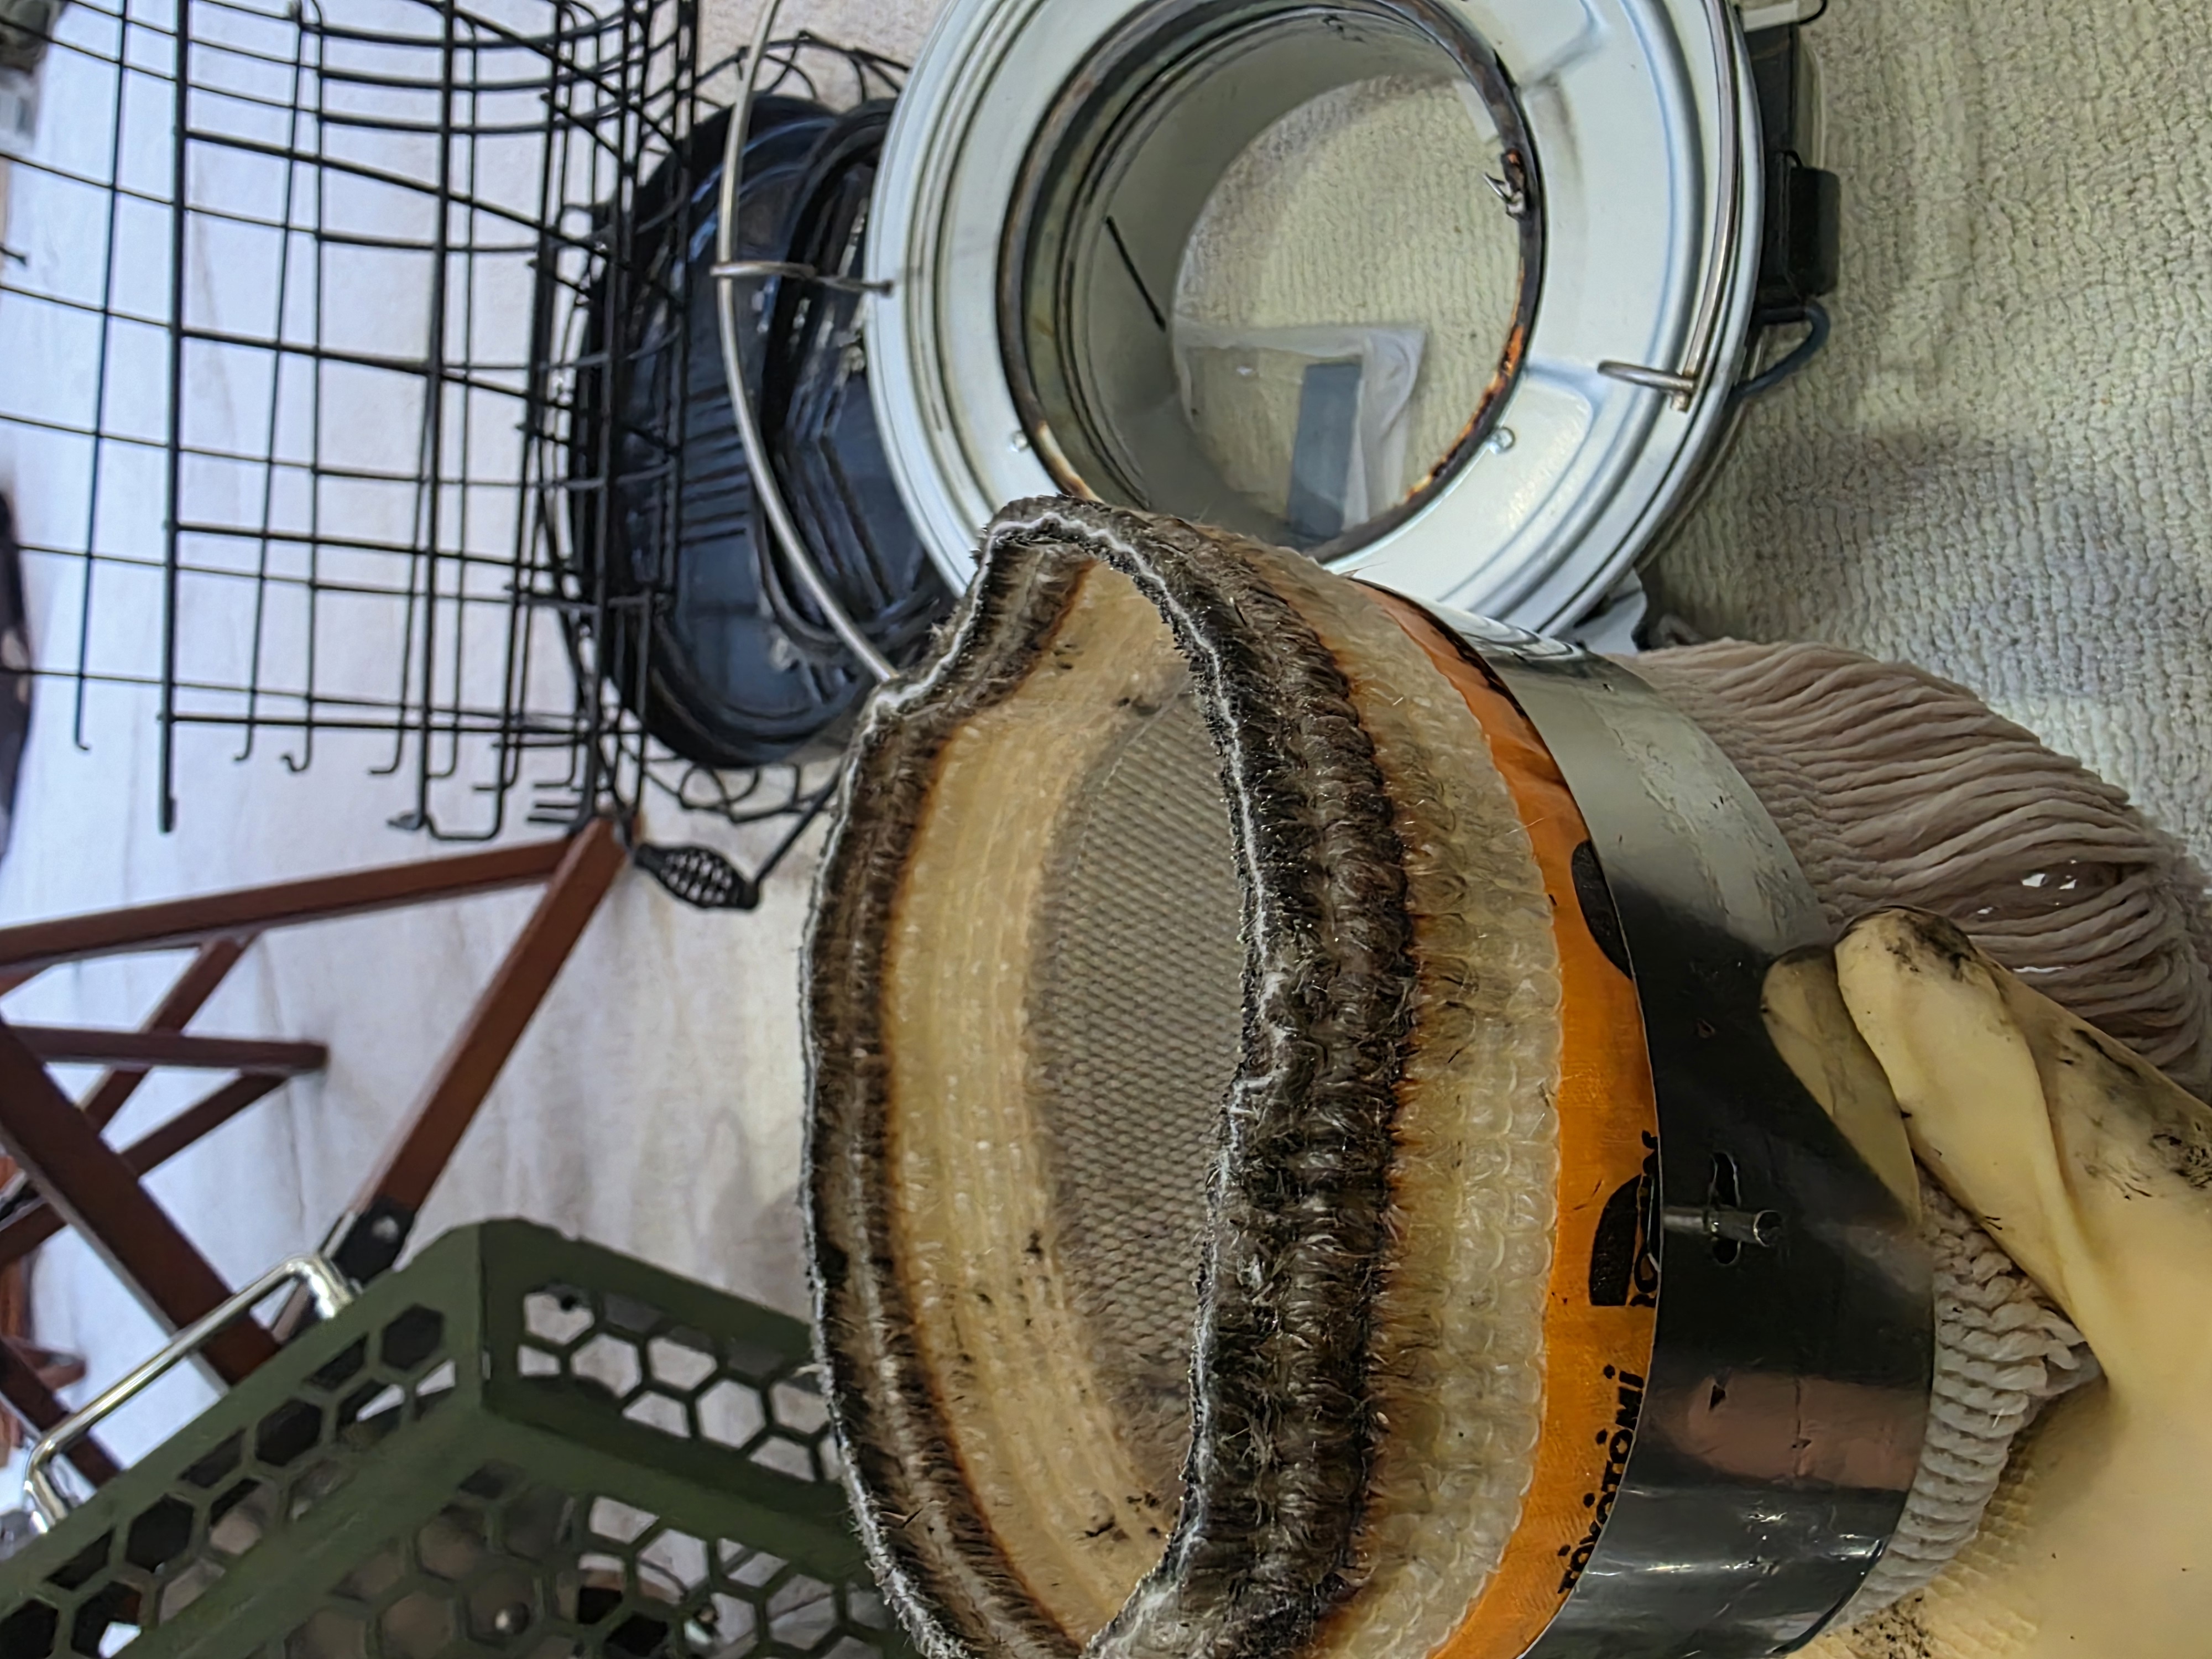
> [Photo comparing the old, carbon-heavy wick with the clean new wick]
>
I wiped away all the soot and tar that had accumulated from the uneven flames. Seeing the clean interior felt incredibly refreshing! When reinserting the wick unit, rotate it slightly for a smoother fit.
✨ Result: 100% Satisfactory Heat Recovery
The most important step after reassembly is patience. To ensure the wick lasts long, I filled the tank and waited exactly one hour for the wick to fully soak up the fuel.
* Settings: I started with the wick height at Stage 2, considering the winter cold.
* Ignition: After perfectly leveling the heater with a spirit level, I lit it up. Success!
> [Photo of the even, powerful flame and the fully reassembled heater]
>
The flame height is back to normal, and the heat output has significantly improved. I even recycled the old wick for a campfire later. If your heater’s performance is lagging, don't hesitate to try this DIY!


'리뷰 > 캠핑' 카테고리의 다른 글
| ❄️ [장박 6주차] 계획 없는 편안함, 그리고 장박 연장 결정! (1/9~1/11) (1) | 2026.01.12 |
|---|---|
| [장박 5주차] 2026년 새해의 시작: 투명한 얼음 위에서 멈춘 시간과 뜨거웠던 가족 캠핑 (1/1~1/4) (1) | 2026.01.05 |
| [장박 4주차] 영하 20도의 크리스마스 캠핑 (1) | 2025.12.28 |
| [장박 3주차] 16시간의 짧고 굵은 힐링! 광장시장 맛집부터 전실 전기매트 꿀팁까지 (0) | 2025.12.21 |
| [장박 2주차] 여유와 평화 속의 깨달음! 타포린 타프 테스트와 난로 수평의 중요성 (0) | 2025.12.15 |


댓글